Introduction
High-pressure seals are critical components in every waterjet cutting system. Operating under extreme pressures that can exceed 60,000 to 90,000 psi, these seals ensure that the system maintains consistent cutting performance without water leakage or pressure loss. Because they operate in such harsh conditions—exposed to rapid pressure cycles, abrasive contamination, and fluctuating temperatures—these seals inevitably wear over time.
A failed high-pressure seal can cause more than just a drop in cutting pressure; it can result in hydraulic oil contamination, sudden system shutdowns, or even safety hazards due to fluid ejection. Replacing seals properly and at the right interval is essential to maintain optimal efficiency, extend pump life, and ensure operator safety.
Step-by-Step Guide
1. Depressurize the System
Before starting any maintenance work, safety comes first. Shut down the high-pressure pump and make sure the intensifier is in a neutral position. Bleed off all pressure from both the water and hydraulic circuits using the manufacturer’s designated valves. Engage lockout/tagout procedures to ensure no one can accidentally restart the machine during service. Verify pressure release with a gauge—never assume the system is depressurized.
afety Tip: Even residual pressure in a waterjet system can be deadly. Always wear safety goggles, gloves, and protective clothing.
2. Disassemble the Pump Head
Use the appropriate hex or socket tools to remove the pump head bolts. Loosen bolts in a star or crisscross pattern to avoid uneven stress that can warp or crack the end block. Carefully remove the end cap, backing plate, and seal housing, noting the order and orientation of each component. Place removed components on a clean, lint-free surface to prevent contamination.
Tip: Take photos during disassembly—this helps ensure correct reassembly later.
3. Inspect All Components
Ceramic Plungers: Check for micro-cracks, surface scratches, or chipping. Even small imperfections can cut into new seals and lead to premature failure.
Metal Components: Look for pitting, rust, or deformation on the seal carrier, high-pressure cylinder, and retaining rings.
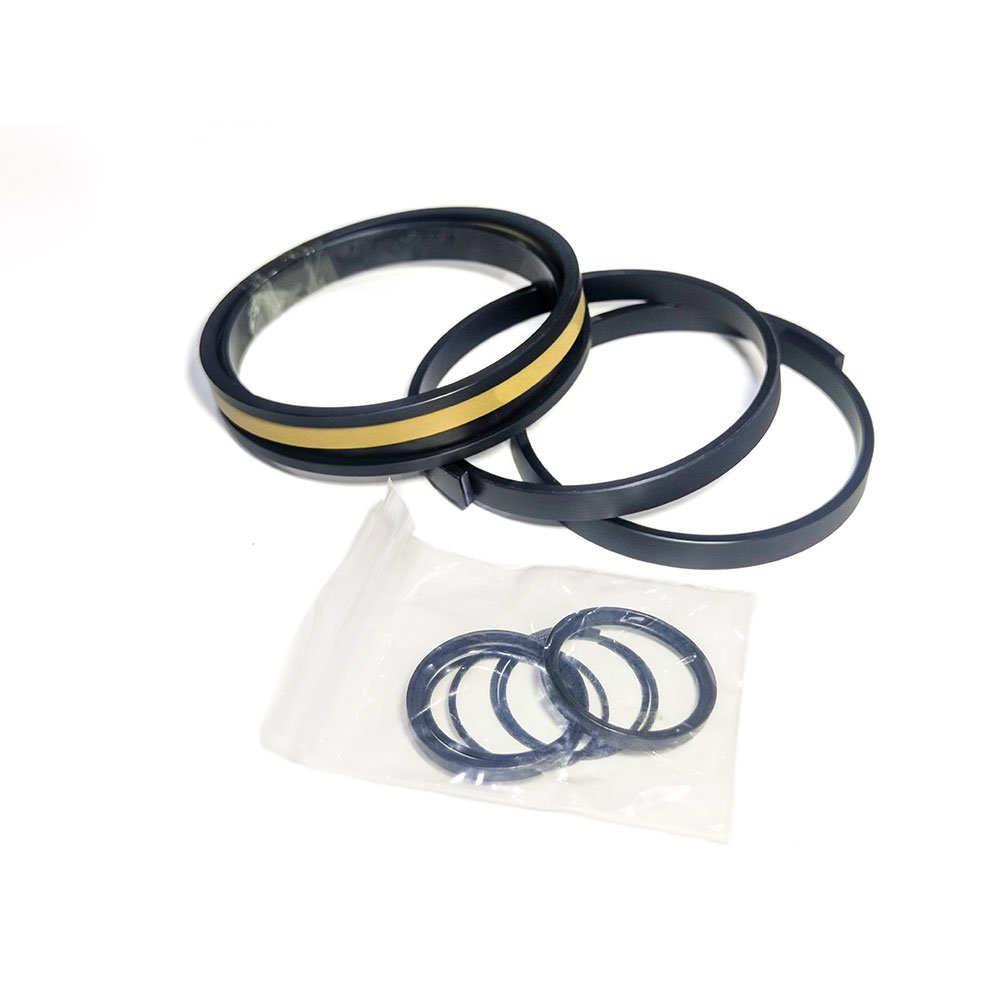
O-Rings and Backup Rings: If they appear brittle, flattened, or swollen, replace them as part of the seal kit.
Note: Always inspect the seal bore for embedded debris. Contaminants in the seal seat can cause uneven wear and pressure leakage.
4. Prepare the New Seals
Clean all housing and plunger surfaces with isopropyl alcohol or an approved degreaser. Make sure all components are completely dry before installation. Apply a thin, uniform film of high-pressure assembly lubricant—never grease—on both the inner and outer surfaces of the seal. Verify that the seal material (e.g., UHP polyurethane, PTFE, or Viton) matches your system’s rated pressure and fluid type.
Tip: Avoid touching the sealing lips directly with bare hands; body oils can affect performance at high pressures.
5. Install Seals Carefully
Use a manufacturer-approved seal installation tool to avoid twisting, folding, or overstretching the seal during placement. Press the seal squarely into position—do not hammer it in. Confirm correct orientation: most UHP seals have a high-pressure side and a low-pressure support side. If your assembly includes back-up rings, ensure they are seated tightly behind the seal to prevent extrusion under pressure.
Tip: Misaligned or reversed seals are one of the top causes of premature failures in new assemblies.
6. Reassemble the Pump
Reinstall all components in the exact order of removal. Tighten bolts in a star pattern using a calibrated torque wrench to the manufacturer’s specified torque. Reconnect the hydraulic and high-pressure water lines securely. Gradually re-pressurize the system—start at low pressure and monitor for leaks around the end caps or fittings. Once confirmed, ramp up to full operating pressure and verify system stability.
p: Use a leak-detection spray or soap solution to identify micro-leaks during initial testing.
Tips for Longevity and Reliability
Maintain Clean Hydraulic Oil
Follow ISO 4406 cleanliness standard (<19/16/13) to prevent contamination that accelerates seal wear. Replace oil filters regularly and monitor oil clarity.
Replace Seals at Proper Intervals
Typical lifespan: 400–600 operating hours, depending on water quality, pressure, and operating environment. Keep a maintenance logbook for tracking replacement intervals.
Monitor Pressure Stability
Sudden pressure fluctuations or slow buildup can indicate seal degradation. Investigate abnormal noises or vibration immediately.
Keep Spare Seal Kits and Plunger Sets
Always store OEM seal kits and plungers in clean, temperature-controlled environments for emergency replacements.
Check Water Quality
Poor water quality with high mineral or silica content causes premature seal abrasion. Install and maintain a high-grade filtration system (≤1 micron) and monitor Total Dissolved Solids (TDS).
Additional Best Practices
Train maintenance personnel on correct disassembly and reassembly procedures. Use only manufacturer-recommended lubricants and torque settings. Schedule preventive maintenance shutdowns to replace seals proactively, rather than waiting for leaks. Inspect the pump’s cooling and lubrication systems concurrently—seal damage often correlates with inadequate cooling.
Conclusion
Replacing high-pressure seals is more than a repair task—it’s a precision maintenance operation that directly impacts cutting quality, uptime, and operator safety. By following a disciplined, step-by-step replacement procedure, technicians can ensure optimal sealing performance, consistent pressure output, and longer pump life.
Routine inspections, the use of high-quality OEM components, and adherence to preventive maintenance schedules will help your waterjet system remain a high-precision, high-efficiency asset for years to come.